Saturday, April 20, 2019

Yaw Control

Rachel loves her new rudder.


Vertical stabilizer nearly complete.

Sunday, April 14, 2019

Rudder Nearly Done

4-14-2019

I got a lot of work in yesterday but not as much today.  Weather is pretty terrible today.  I only have to roll the leading edges of the rudder.  I did the trailing edge today.  It’s ok, not great.  Has a little wave, maybe I can push it out.

She gets excited to help.


Not much help.


Weekend work.

Monday, April 8, 2019

Some Assembly Required

4-8-2019

I took the day off because the weather is the nicest it’s been in six months.
I built the rear on forward spars of the horizontal stabilizer.
The forward spar is ready to rivet.

Sunday, April 7, 2019

Lots of Rudder Work

4-7-2019


I worked on the rudder for hours and hours today.
I got blisters on my hand from the cleco pliers.


I’m waiting for some shorter rivets than the plans called for.  The ones for the nutplates were too long and wanted to fold over when squeezed.  Also,  I need I CS4 dimple die for a couple holes in the skins.


Jen helped to dimple rib flanges.

Saturday, April 6, 2019

New Bench

I built my second bench today.  I’m waiting for some parts for the VS that I butchered trying to remove rivets so I went to move back to the rudder but I’m missing a dimple die for CS4 rivets.  Maybe I’ll look further ahead in the plans to do something else tomorrow.

Tuesday, April 2, 2019

Deburring and Dimpling


4-2-19


Deburring the holes I match drilled yesterday and dimpling the rib flanges for the skin attachment.

I stopped  when I needed to clarify where to machine countersink the doubler to the rear spar.
Dimple the spar, countersink the doubler, tomorrow.

Monday, April 1, 2019

VS Assembly


4-1-2019

Yesterday I built an EAA1000 workbench.  I need to make another but I want to be able to put two cars in the garage for awhile longer so I’m holding off.


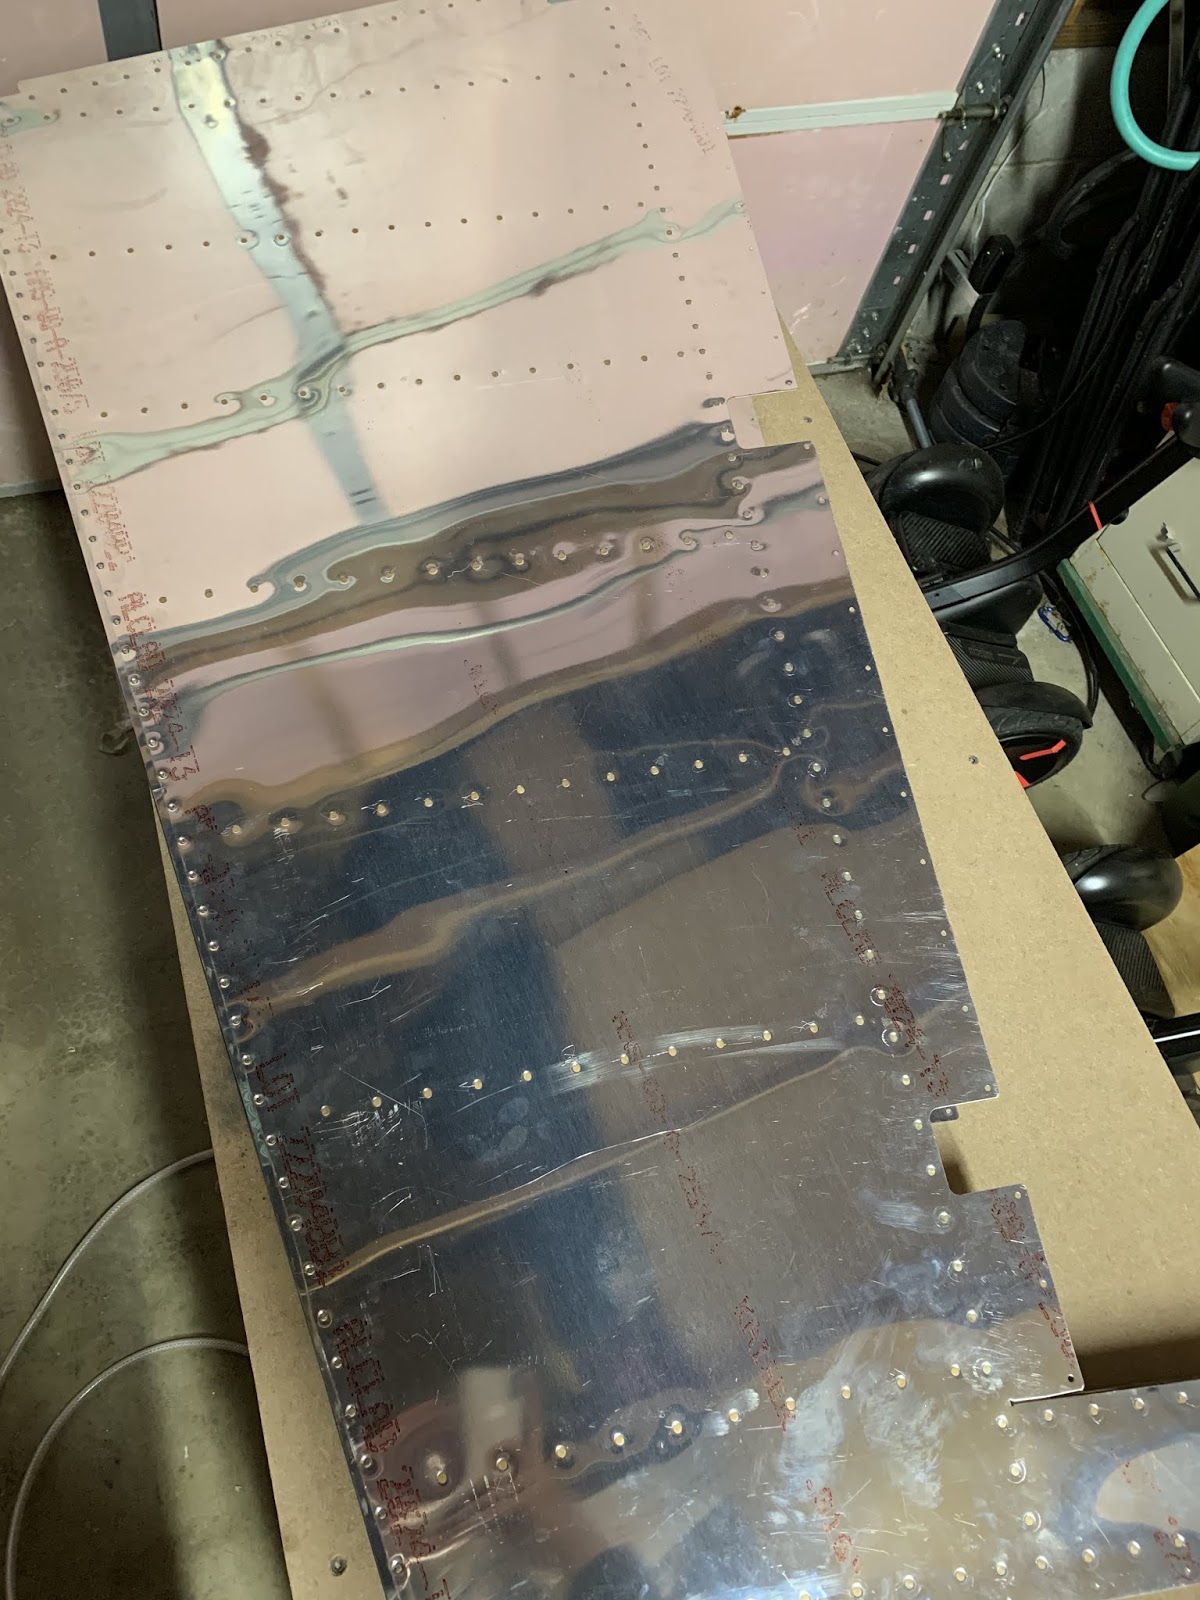
Test fit the skin to see how the nose ribs would fit.
I had to trim the top one a bit.  Fit nice after that.


All set up to match drill the holes in the skin.
After that I disassembled all of the parts to deburr, dimple, and rivet.